I’m loving how things like ginger and turmeric powder are showing up in natural groceries. I find this phenomena interesting because I’ve been consuming these items in their natural form for years. In fact, I didn’t even like it growing up and now it’s the new trend.
In January, I was reintroduced to yet another part of my childhood that I thought I had totally lost. Moringa, but as Filipinos call it, mallunggay has reached the natural groceries in a powered format. Growing up, I’d eat mallunggay in almost everything since it was the tree that was outside the house that always gave us something to eat. Today, moringa is being promoted to treat various skin disorders, hypertension, and other various diseases.
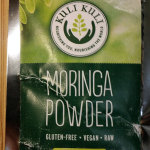
I had the opportunity to meet with Kuli Kuli Foods and they gave me a sample of their moringa powder to test out and join a recipe competition they are hosting. I’ve developed a few recipes that were based on the foods I’m used to consuming but the powdered format was a lot harder to integrate as I thought. However, I was amazed at the throwback to my childhood after taking the first initial servings. The taste of moringa, for those who haven’t tried it, is very earthy, leafy, and at the same times gives you a hint of citrus.
I’m submitting the following recipe and maybe a few more if I get to them. Make sure you visit http://blog.kulikulifoods.com/ and vote for my recipe!
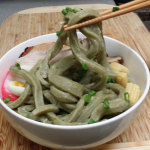
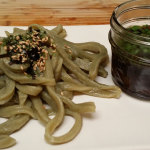
Moringa Udon
Ingredients
1 Cup Water
1 Teaspoon Salt
3 Cups All Purpose Flour
1 Tablespoon Moringa Powder
Method
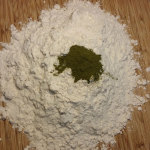
Mix water and salt together until the salt is dissolved. Add water mixture in a standmixer with a dough hook and add the flour and moringa powder. Let mix for 10 minutes on medium speed. Take it out from the bowl and wrap it in plastic and let it rest in the fridge for 4 hours or more. Now we wait. You might want to start working on the dashi or some chashu while you wait. In fact, I recommend it.
Remove the dough from the fridge and let it get to room temperature. Now knead it for another 15 minutes with slightly dusted floured hands. Then take the dough and put it in a 1 gallon zip lock bag and seal it leaving it slightly opened to let air escape. Why? Because you’ll be stepping on it.
Lay the bag on a towel on the floor and cover it with the other side of the towel and gently knead the dough with the heels of your feet. Do this until the dough spreads out and repeat at least 3 more times.
Now, let it rest again for a little…as you check on your dashi or your chashu. Or start a pot with water to boil these noodles.
Roll out the dough until it is 3mm thick. This is important and you might want to dust the dough before you roll it out or else it might get stuck.
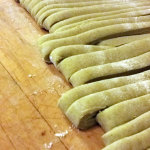
After reaching 3mm, it is going to take you a while to get there, fold the dough into 3rds and cut out noodles at 3mm thick. Got it? We’re going for square.
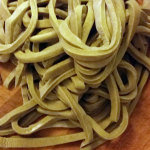
In a big pot, boil water lke you’re going to make spaghetti noodles but don’t add oil or salt. Add the noodles and cook for 15 minutes. I know you’re thinking these are fresh noodles and shouldn’t they be cooked for a shorter amount of time? No. Stick to the 15 minutes, I’d even go 20. You can’t ruin it by going 20. Strain the noodles and wash them. Wash them? Yes, wash them, it’s okay, you won’t ruin it.
Add the noodles to your favorite dashi or eat them cold.
Enjoy!
Notes
For the vegetarians out there, these noodles taste great with a veggie broth.
References
http://blog.kulikulifoods.com/


